Resources · 8 steps

Python Dev Setup for University Coursework

Set this up once, reference it forever. The same 8 steps cover CS50P on a Windows laptop, DATA 100 on an M2 Mac, and CSE 163 on a Linux lab box: install Python 3, isolate the project in a venv, install packages with pip, configure VS Code, wire up pytest, format with ruff, and ignore the right files in git. Every command below is copy-pasteable. If something errors halfway through, the next section names the fix.

Step 1

Install Python 3 on Windows, macOS, or Linux

Pick a Python version your course supports. Python 3.10, 3.11, and 3.12 are all course-safe in 2026. Use Python 3.13 only when your syllabus names it explicitly, because pandas 2.1 and a few sklearn 1.3 wheels lag behind the latest interpreter by 4 to 8 months.

Windows

Two paths. The python.org installer is the simplest, and winget is the fastest on Windows 11.

# Option A: official installer
# Download from python.org/downloads
# Check "Add Python to PATH" on the first dialog

# Option B: winget (Windows 11, PowerShell)
winget install Python.Python.3.12

# Verify
python --version

macOS

The system Python on macOS is 3.9 and locked. Install a fresh one with Homebrew, or the python.org installer if Homebrew is not on the laptop.

# Homebrew
brew install python@3.12

# Verify
python3 --version

# Alias once if you want bare "python"
echo 'alias python=python3' >> ~/.zshrc
source ~/.zshrc

Linux (Ubuntu, Debian, Fedora)

Ubuntu 22.04 ships 3.10. Ubuntu 24.04 ships 3.12. For a different version, install pyenv and pin per project.

# Ubuntu / Debian
sudo apt update
sudo apt install python3 python3-venv python3-pip

# Fedora
sudo dnf install python3 python3-pip

# Verify
python3 --version

The one-line check

Open a terminal and run python --version (Windows) or python3 --version (macOS, Linux). If the response prints 3.10 or higher, install is done. If the response is command not found on macOS, the PATH does not include the Homebrew prefix yet; run echo 'export PATH="/opt/homebrew/bin:$PATH"' >> ~/.zshrc and reopen the terminal. On Windows, a missing Add Python to PATH tick during install is the usual cause; run the installer again and pick Modify.

Step 2

Virtual environments with venv

A venv isolates the packages a single assignment depends on. Without one, every pip install drops a library into the system Python, which collides with the version another course expects. The stdlib venv module ships with Python 3.3+ and is the right default for student work.

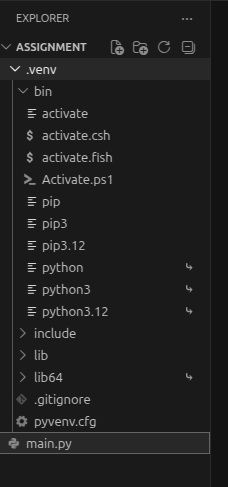
Create the venv inside the project folder

# Anywhere inside your assignment folder
cd ~/Courses/data100/hw3
python -m venv .venv

The folder name .venv is the modern convention. VS Code auto-detects it. Pin to .venv and skip the bikeshedding.

Activate on macOS or Linux

source .venv/bin/activate

# Prompt changes:
# (.venv) you@laptop hw3 %

# Confirm you are now inside the venv
which python
# /Users/you/Courses/data100/hw3/.venv/bin/python

Activate on Windows

# PowerShell
.venv\Scripts\Activate.ps1

# cmd.exe
.venv\Scripts\activate.bat

# Prompt changes:
# (.venv) PS C:\Courses\hw3>

# If PowerShell blocks the script:
# Set-ExecutionPolicy -Scope CurrentUser RemoteSigned

Deactivate when you switch projects

deactivate

# Prompt returns to normal. The .venv folder
# stays on disk, ready for next time.

The deactivate command works on every OS once the venv is active. The prompt loses the (.venv) prefix and Python falls back to the system interpreter. Never commit the .venv folder to git; the .gitignore step at the bottom handles that.

Step 3

pip and requirements.txt

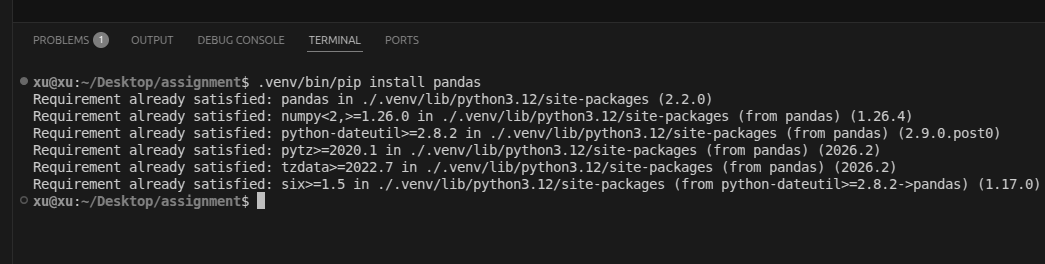
With the venv active, every pip install lands inside .venv/lib/python3.12/site-packages/. The system Python stays untouched. Pin the dependency set in a requirements.txt so the next student, the TA, and the autograder all install identical versions.

The four pip commands students reach for daily

# Install one package
pip install pandas

# Install several at known versions
pip install pandas==2.2.0 numpy==1.26.4 matplotlib==3.8.2

# Snapshot the current environment
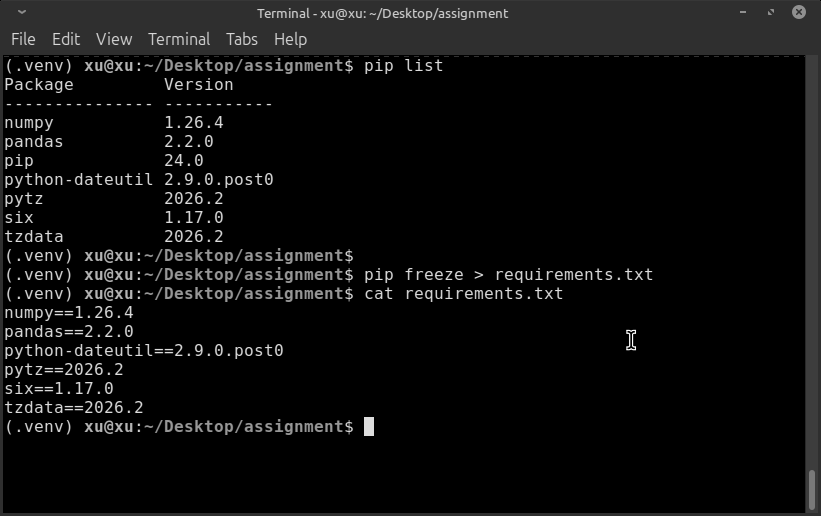
pip freeze > requirements.txt

# Recreate the environment on another machine
pip install -r requirements.txt

What a requirements.txt looks like

# requirements.txt
pandas==2.2.0
numpy==1.26.4
matplotlib==3.8.2
scikit-learn==1.4.0
pytest==8.0.0
ruff==0.3.4

Pin the exact version with ==. If your professor accepts >= ranges, fine, but the strict pin is what prevents the 11 p.m. surprise where pandas updates on the TA's machine and your DataFrame.append call breaks.

requirements.txt vs pyproject.toml

requirements.txt is the right default for a single assignment. One file, one job: list packages. The pyproject.toml format wraps build metadata, entry points, and tool config; it shines for shippable libraries, not for hw3. Use pyproject.toml only if your course names it. The CS50P, DATA 100, and CSE 163 graders all read requirements.txt.

Step 4

VS Code config for Python coursework

VS Code with the official Python extension is the default editor across CS50P, DATA 100, and most intro courses in 2026. PyCharm Community is a fine alternative for pure-Python work; the steps below stay close in either editor.

1. Install the Python extension

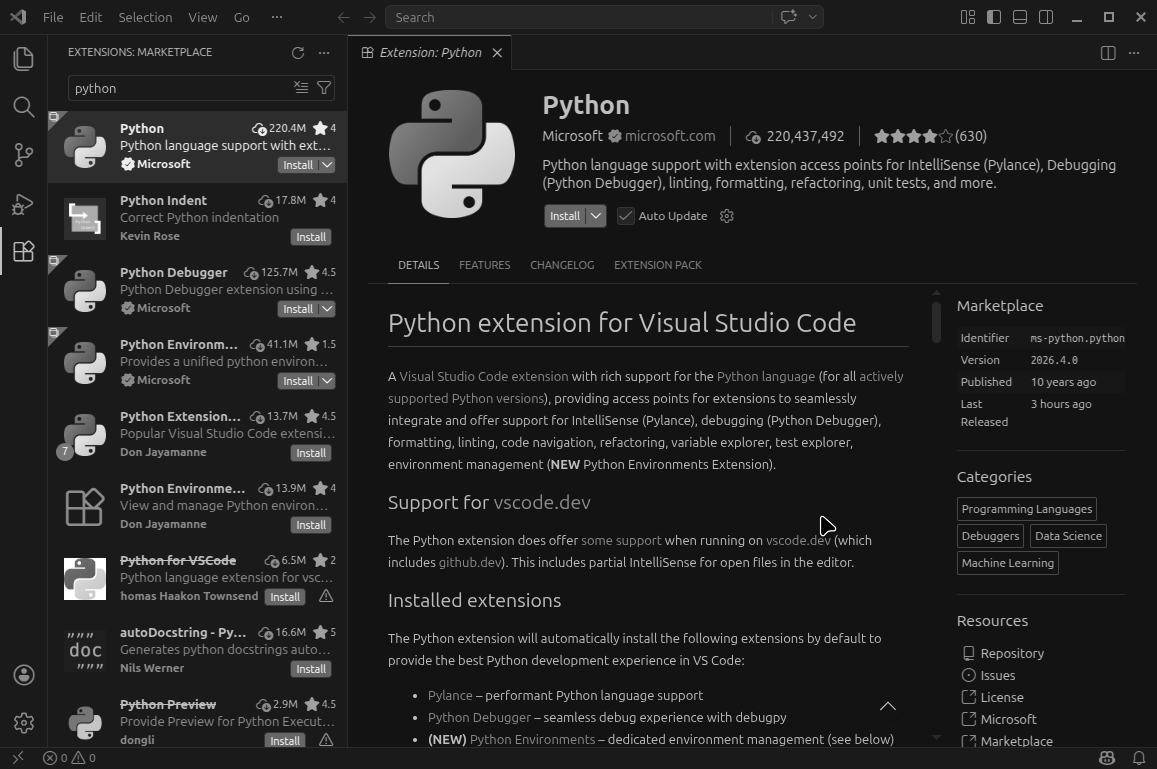
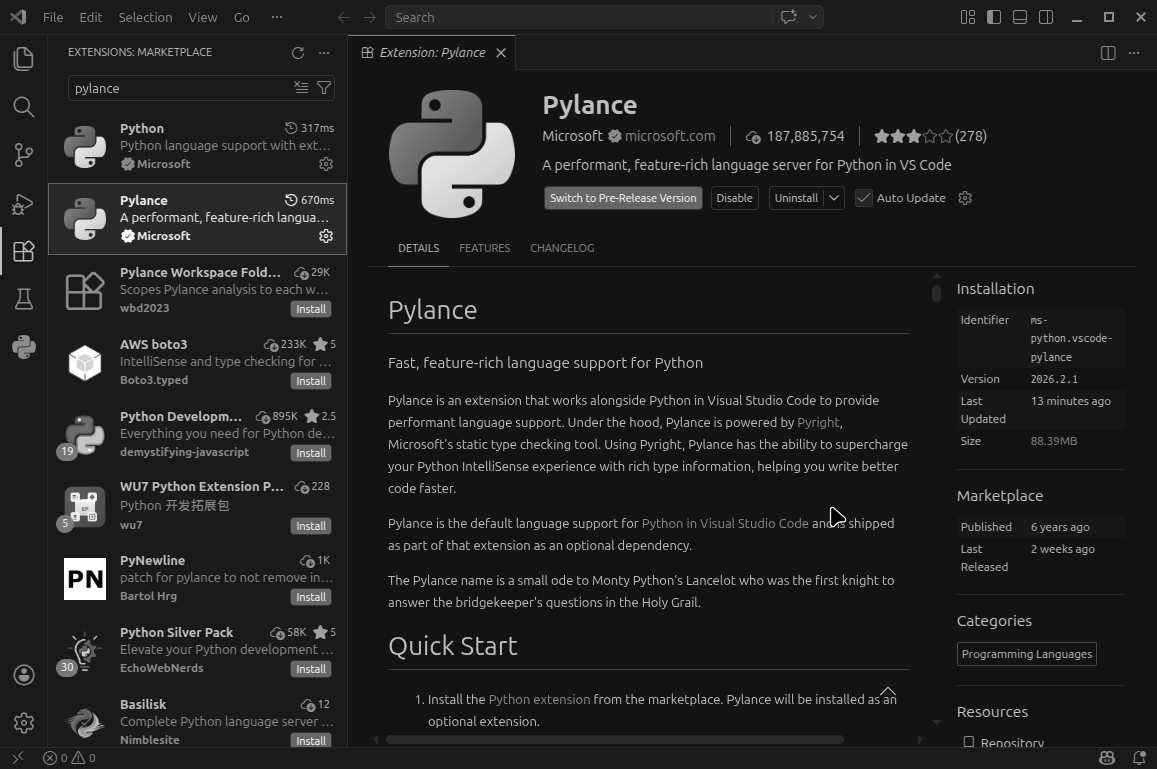
Open the Extensions panel (Cmd+Shift+X on macOS, Ctrl+Shift+X on Windows and Linux). Install ms-python.python from Microsoft. The Pylance language server installs alongside it.

2. Select the venv interpreter

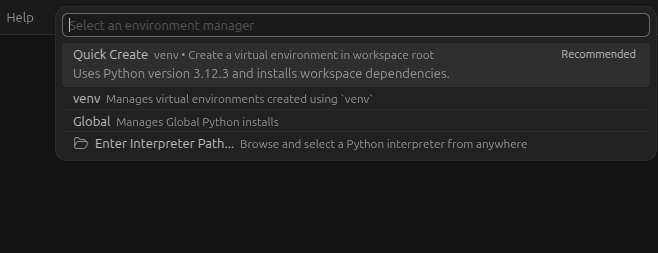
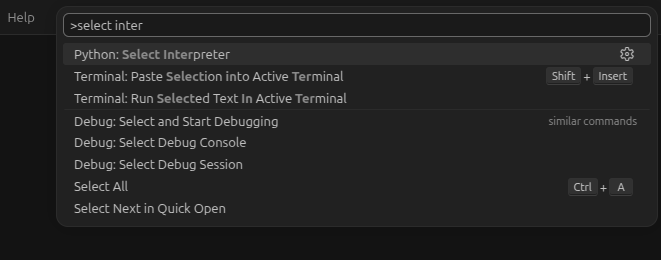
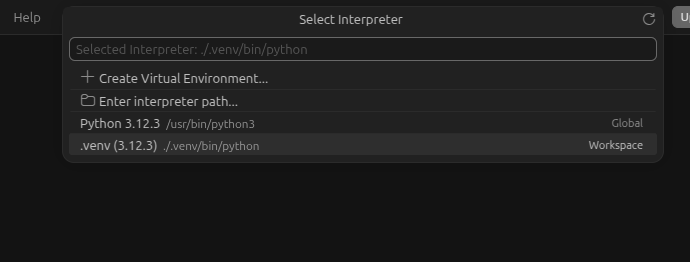
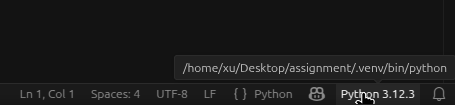
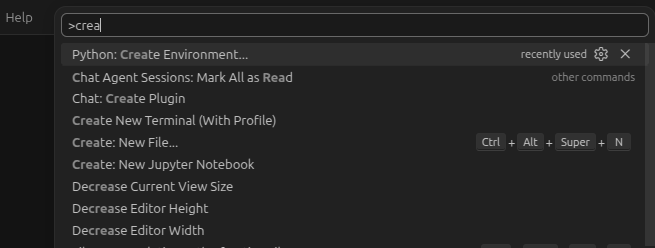
Open the command palette with Cmd+Shift+P (macOS) or Ctrl+Shift+P (Windows, Linux). Type Python: Select Interpreter. Pick the entry pointing at .venv/bin/python. The status bar now shows the venv name.

3. Install ruff and the ruff extension

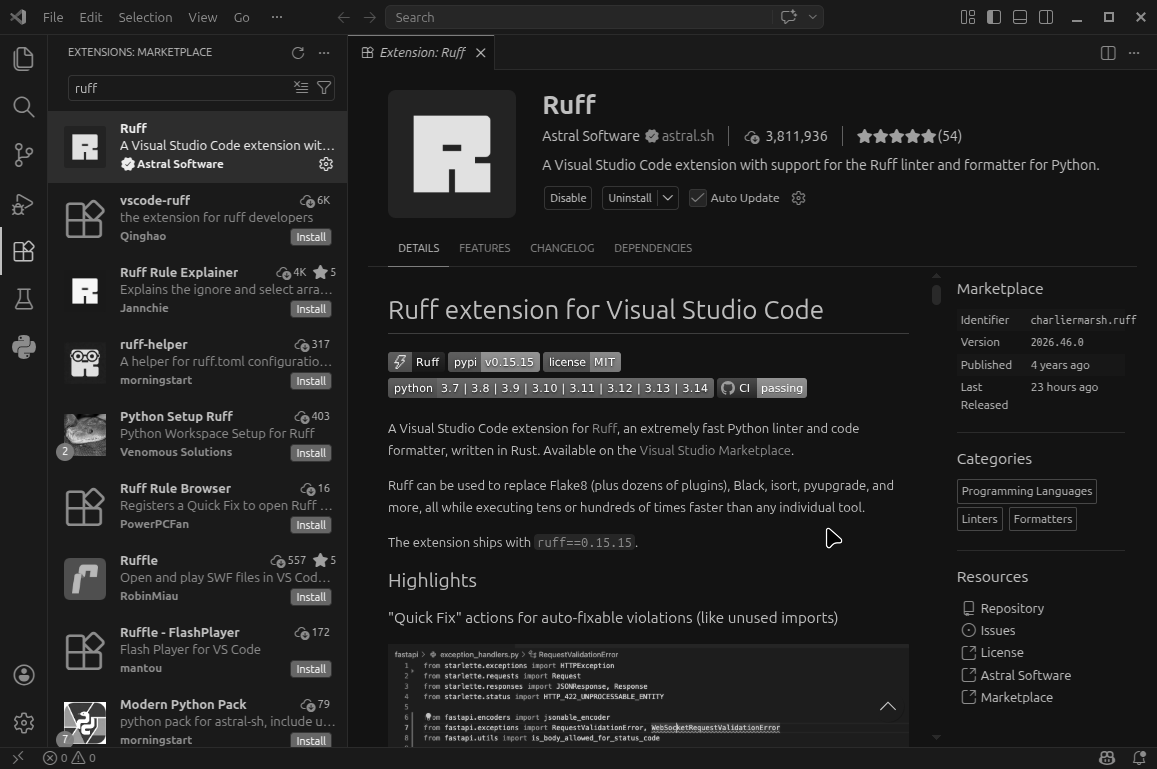
Run pip install ruff inside the venv. Install the charliermarsh.ruff VS Code extension so format-on-save uses ruff, not the older black + isort pair.

4. Turn on type checking

Pylance ships with three modes: off, basic, strict. Set Python > Analysis: Type Checking Mode to basic. Strict mode is satisfying once you trust your types; basic catches the bugs.

Drop this into .vscode/settings.json

{
  "python.defaultInterpreterPath": ".venv/bin/python",
  "python.terminal.activateEnvironment": true,
  "[python]": {
    "editor.defaultFormatter": "charliermarsh.ruff",
    "editor.formatOnSave": true,
    "editor.codeActionsOnSave": {
      "source.fixAll.ruff": "explicit",
      "source.organizeImports.ruff": "explicit"
    }
  },
  "python.analysis.typeCheckingMode": "basic",
  "python.testing.pytestEnabled": true,
  "python.testing.pytestArgs": ["tests"],
  "files.exclude": {
    "**/__pycache__": true,
    "**/.pytest_cache": true
  }
}

On Windows, swap .venv/bin/python for .venv\Scripts\python.exe. Commit this file to the repo so anyone cloning the project gets the same editor behavior; the .gitignore snippet at the bottom keeps everything except settings.json out.
Step 5

pytest setup for assignment tests

pytest is the default test runner for every Python course that takes testing seriously. CS50P uses it. DATA 100 lab tests run through it. Gradescope runs it under the hood for most Python autograders.

Install pytest and lay out the test folder

# Inside the venv
pip install pytest

# Suggested folder structure
hw3/
├── .venv/
├── src/
│   └── analysis.py
├── tests/
│   ├── __init__.py
│   ├── conftest.py
│   └── test_analysis.py
└── requirements.txt

A runnable tests/test_example.py

# tests/test_example.py
import pytest
from src.analysis import normalize_grade

def test_normalize_grade_handles_perfect_score():
    assert normalize_grade(100) == 1.0

def test_normalize_grade_handles_zero():
    assert normalize_grade(0) == 0.0

def test_normalize_grade_rejects_negative():
    with pytest.raises(ValueError):
        normalize_grade(-5)

@pytest.mark.parametrize(
    "raw,expected",
    [
        (75, 0.75),
        (50, 0.50),
        (88, 0.88),
    ],
)
def test_normalize_grade_scales_correctly(raw, expected):
    assert normalize_grade(raw) == expected

Run the tests three ways

# Run every test in the project
pytest

# Verbose output, one line per test
pytest -v

# Run a single file
pytest tests/test_example.py

# Run a single test by name
pytest tests/test_example.py::test_normalize_grade_handles_zero

# Stop after the first failure
pytest -x

# Show the locals at the failure point
pytest -l

conftest.py for shared fixtures

# tests/conftest.py
import pytest
import pandas as pd

@pytest.fixture
def sample_grades():
    return pd.DataFrame({
        "student_id": [1, 2, 3, 4],
        "raw_score": [88, 72, 95, 60],
    })

# In tests/test_analysis.py
def test_class_mean(sample_grades):
    assert sample_grades["raw_score"].mean() == 78.75

A fixture declared in conftest.py is auto-discovered by every test in the same folder. Use it for any object three or more tests want to share: a sample DataFrame, a temp file, a fake database session.

Step 6

Formatting and linting with ruff

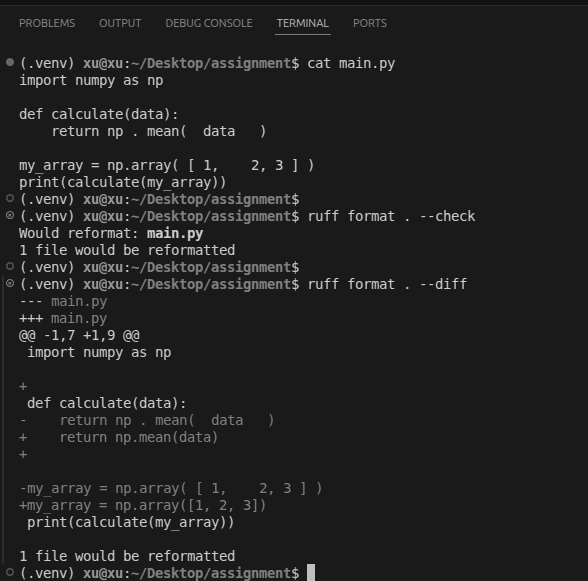
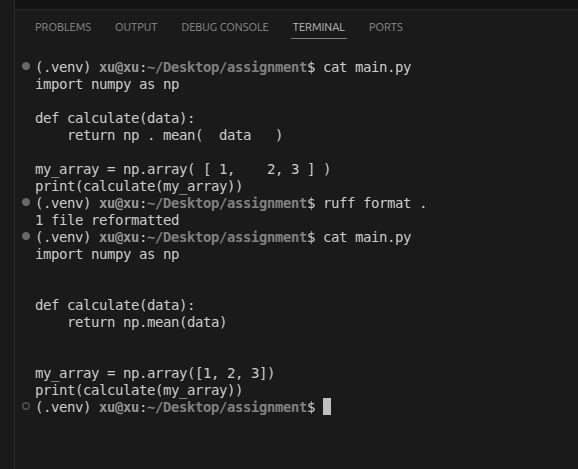
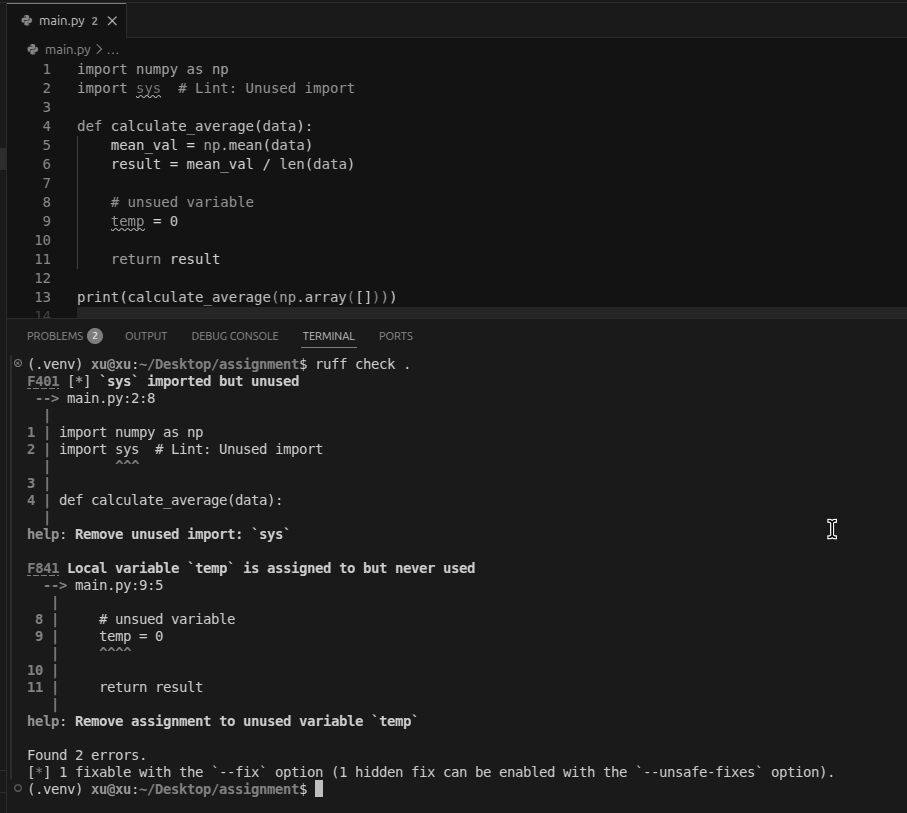
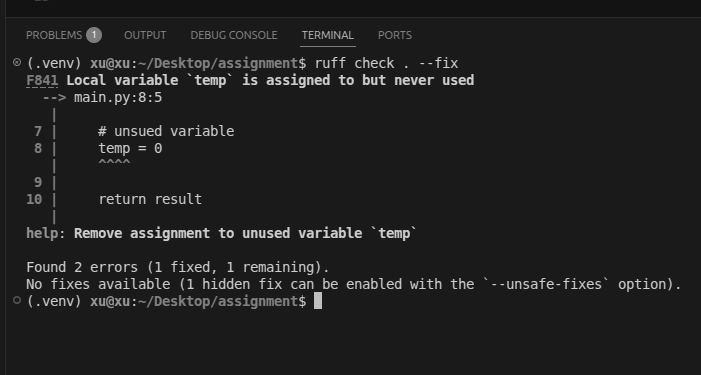
ruff is one tool that replaces 5: flake8, black, isort, pyupgrade, and pylint. Written in Rust, it runs 10x to 100x faster than the legacy tools. Default config matches PEP 8 out of the box, which is exactly what most professors grade against.

Install and run ruff

# Inside the venv
pip install ruff

# Find style issues (does not edit files)
ruff check .

# Auto-fix what can be auto-fixed
ruff check . --fix

# Format every .py file
ruff format .

# Check formatting without rewriting
ruff format . --check

Minimal ruff.toml at the project root

# ruff.toml
line-length = 100
target-version = "py312"

[lint]
select = [
    "E",    # pycodestyle errors
    "F",    # pyflakes
    "I",    # isort
    "B",    # flake8-bugbear
    "UP",   # pyupgrade
    "SIM",  # flake8-simplify
]
ignore = [
    "E501",  # line-too-long handled by formatter
]

[format]
quote-style = "double"
indent-style = "space"

target-version = "py312" tells ruff which interpreter to lint against. Set it to "py310" or "py311" if your course pins an older interpreter. Skip the ruff.toml entirely and the defaults still work fine; the file is for the moment a professor says 120-character lines and you need to widen line-length.

Step 7

.gitignore for Python coursework

Without a .gitignore, the first git add . pushes __pycache__/, the entire .venv/, and possibly your MOSS-flagged temp files into the homework repo. The snippet below is the safe baseline.

Copy-pasteable .gitignore

# Byte-compiled and cached
__pycache__/
*.py[cod]
*$py.class

# Virtual environments
.venv/
venv/
env/
ENV/

# Test and coverage artefacts
.pytest_cache/
.coverage
.coverage.*
htmlcov/
.tox/

# Type checker caches
.mypy_cache/
.pyright/
.ruff_cache/

# Notebooks
.ipynb_checkpoints/

# Editor / OS
.DS_Store
Thumbs.db
.idea/
.vscode/*
!.vscode/settings.json
!.vscode/extensions.json

# Local config and secrets
.env
.env.local
*.local

The .vscode/* + !.vscode/settings.json pair ignores everything in .vscode except the shared editor config from step 4. The .env line keeps API keys and database URLs out of the repo; once an environment file lands on GitHub, the keys are public.

The end-to-end smoke test

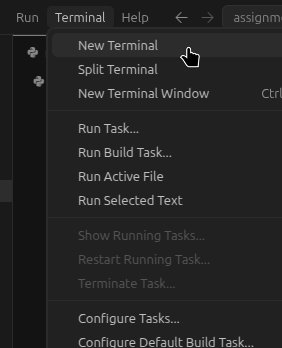
Open a fresh terminal, run the 7 commands below, and a clean Python project exists.

mkdir hw3 && cd hw3
python -m venv .venv
source .venv/bin/activate    # Windows: .venv\Scripts\activate
pip install pandas pytest ruff
pip freeze > requirements.txt
git init
echo ".venv/" > .gitignore

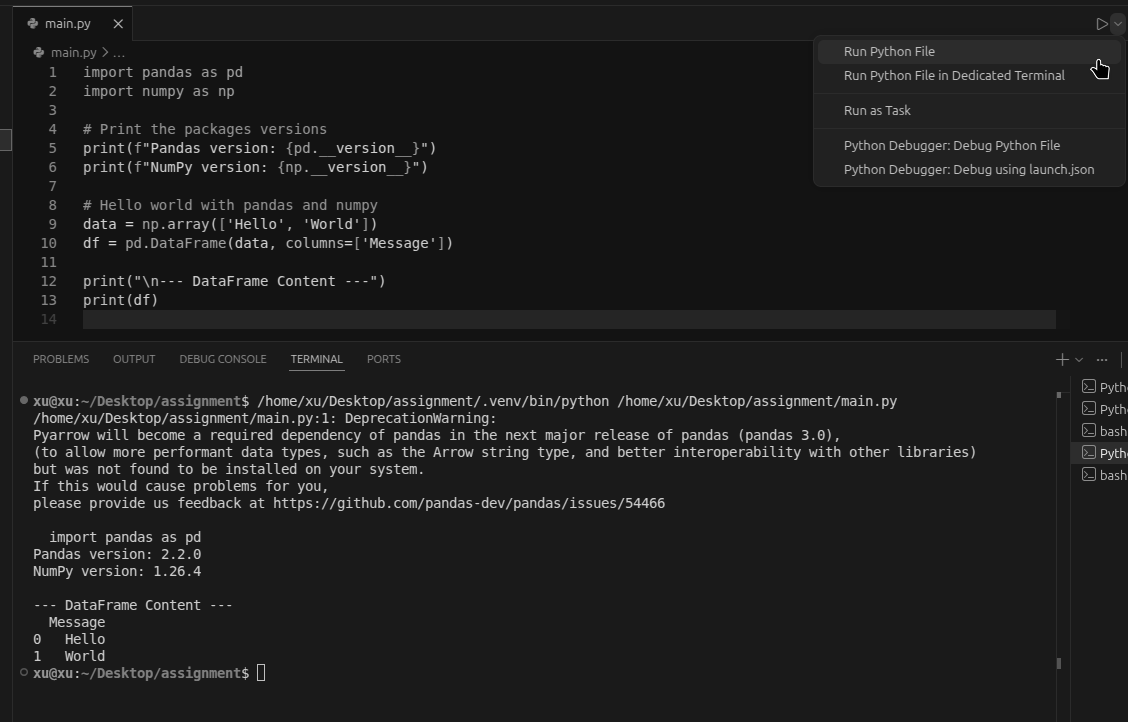
Open VS Code with code ., accept the prompt to select the venv interpreter, and steps 1 through 7 are done. The first test file lands under tests/; the first assignment script lands under src/; ruff format . handles the rest.

Setup taking longer than the assignment?

Send your brief and your Python version. A named developer quotes in 15 minutes, writes tested code against your requirements.txt, and runs it on your data. Pay 50% to start, 50% after the code runs.